Wednesday, August 21, 2013

DIY: Cork Napkin Ring


I have such a fun DIY to share with you all today. It's a collaboration with the fine folks of Robert Mondavi Private Selection Wines. We teamed up to create the perfect summertime napkin ring for all of those al fresco moments. And as the weather starts to cool in the next few months, fear not, these napkin rings will easily transition to indoor use. Keep reading to get the full tutorial on how to make these napkin rings using corks straight from the bottle. Cheers!

MATERIALS
- glue
- 19 gauge wire (about 7" per napkin ring)
- two Robert Mondavi wine corks
- needle nose pliers (optional)
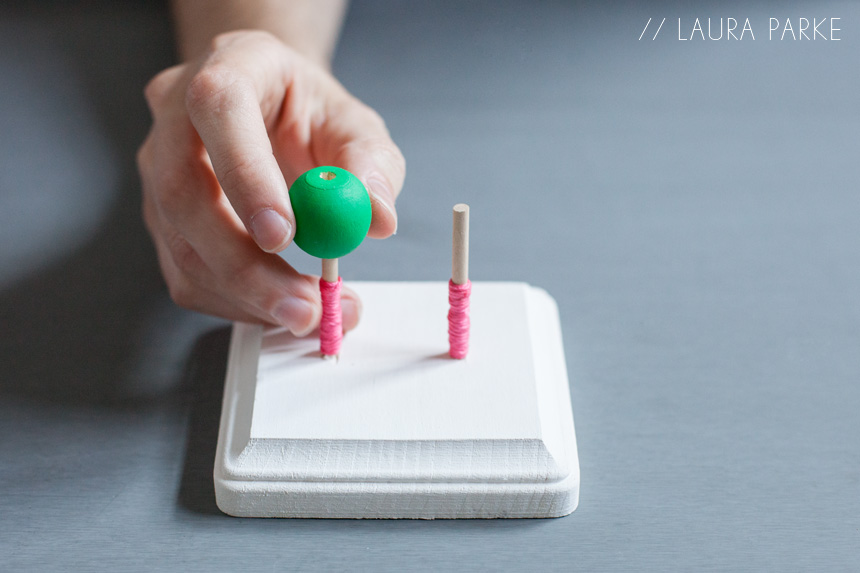
- power drill with 1/16" bit (shown below)


Step 1: Mark the center of the cork and using the power drill and 1/16" drill bit, drill into the cork about  a 1/2". You don't want to go all the way through the cork. 


Step 2: Dip the end of your piece of wire into the glue.


Step 3: Stick the glue end of the wire into the drilled cork and let dry. 


Step 4: Repeat step three on the other end of the wire. 


Step 5: Next you start to bend the wire. Marking the middle of the wire between the corks, slightly bend, creating a half circle. 


Step 6: Bring the corks together, overlapping the wire as close to the corks as possible. This will ensure a secure finished product. 


Step 7: Grabbing the wire portion of the item, twist once or twice until secure. 


Step 8: Finally, bend the wire portion slightly to make a circle form.


Slip a napkin through the ring, call your friends over for dinner and admire your handiwork. One last helpful tip. I loved how the dark napkin offset the light color of the corks. I thought it really set off the project. 


Monday, August 12, 2013

Trade & Made, bonus round!

Did you enjoy the Trade & Made reveal? I certainly did! I loved seeing all of the fabulously creative ideas everyone came up with! I have one more project to share with you that I'd say came from the "leftovers" of the supplies I used. Just a simple cork necklace, dipped in glitter and strung with embroidery thread. Enjoy!


Thursday, August 1, 2013

DIY NECKLACE HOLDER

As promised yesterday, I'm sharing the second DIY project I came up with using the supplies from the Trade & Made challenge. It's another jewelry organizer, just created in a different way, but wouldn't you know it, it's so similar to what Erin came up with? When she posted her project I laughed to myself because we came up with this whole project together, but never talked about our plans. I guess DIY bloggers sometimes think alike! Read below for the tutorial.


MATERIALS
- square wood plaque
- deco art paint in white and green
- two 1" wooden balls
- one wood dowel
- deco art paint brush
- pink embroidery thread
- drill & drill bit (not shown)


Step 1: Paint the wood plaque white. Let dry. 


Step 2: Paint the wood balls greet and let dry. 


Step 3: With a pencil, mark two spots on the wood plaque for where you want your "hooks" to go. I spaced mine evenly apart and used the wooden balls as a guide. You want to be sure the hooks aren't too close together, but still fit well onto the plaque.


Step 4: Using a drill bit the same size as the dowel, drill about 3/8" into the plaque.


Step 5: Cut two pieces of the dowel to 2 1/4". I cut one piece off each end to ensure I had two smooth ends to work with that were shown. I hid the cut sides into the wood plaque.


Step 6: Stick the dowels into the plaque. They should fit snuggly. If they don't, reinforce them with some glue suitable for wood. Next, wrap the dowel with the pink embroidery thread, leaving enough space at the end of the dowels for the ball to fit onto.


Step 7: Add the ball on top and voila! (Also paint the end of the dowels the same color as the balls for a more finished look.)


Hang it on a wall, add your necklaces and admire your simple, yet useful organization system.